
Designing a shadow box display case is more than just arranging a few items in a frame—it’s about crafting a meaningful narrative that showcases your most cherished memories and personal items. A well-designed shadow box can transform ordinary objects into a beautiful, lasting tribute to the events, people, and moments that are most important to you. Whether you’re a beginner or looking to take your displays to the next level, this guide will help you learn how to design a shadow box display case that’s not only visually appealing but also deeply personal.
Why Shadow Boxes?
Shadow boxes offer a unique way to preserve and display 3D objects, making them a perfect solution for displaying items that don’t fit in a traditional frame. From wedding keepsakes to sports memorabilia, vacation souvenirs, or family heirlooms, shadow boxes give you the freedom to create a customized display that tells a story.
Unlike traditional photo frames, which are limited to flat images, shadow boxes have depth, allowing you to display objects like medals, flowers, or clothing. This added dimension brings your display to life, giving viewers a more interactive and engaging experience. Plus, the enclosed design protects your items from dust, dirt, and damage, ensuring that your keepsakes remain in pristine condition.
Step 1: Choosing the Right Shadow Box
The first step in designing your shadow box display is selecting the right shadow box. The size, material, and depth of the box will depend on the items you plan to display and the overall look you’re going for.
Size and Depth
- Shallow Shadow Boxes: Ideal for flat items like photos, certificates, or small objects. Shallow shadow boxes typically have a depth of around 1-2 inches, which is perfect for creating a sleek, simple display.
- Deep Shadow Boxes: If you’re displaying bulkier items like wedding bouquets, sports jerseys, or baby shoes, a deeper shadow box (3-5 inches or more) will give you the space you need to arrange your objects comfortably.
- Custom Sizes: For unique or larger items, consider a custom-sized shadow box to accommodate your display perfectly.
Materials
Shadow boxes come in a variety of materials, each offering a different aesthetic:
- Wood: Provides a classic, timeless look that works well with a wide range of décor styles. Wooden shadow boxes come in various finishes, from rustic to polished, and are perfect for personal and sentimental displays.
- Metal: Offers a sleek, modern look that’s perfect for contemporary spaces. Metal frames tend to be slimmer and more minimalist, allowing the items inside to take center stage.
- Acrylic: Lightweight and affordable, acrylic shadow boxes are ideal for casual displays or spaces where durability is a concern.
Step 2: Planning Your Layout
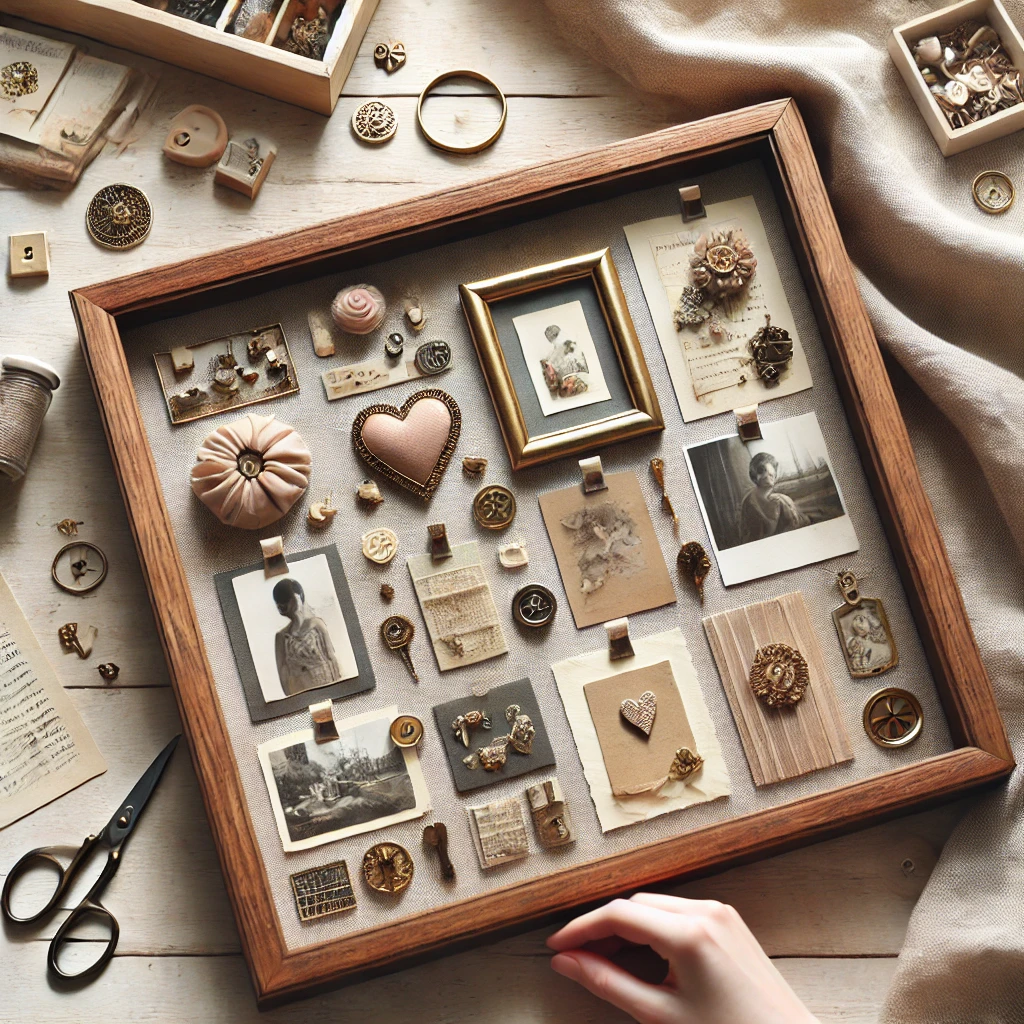
Once you’ve chosen your shadow box, it’s time to plan your layout. The key to a successful shadow box display is creating a composition that is balanced, visually appealing, and tells a story. Start by laying out your items on a flat surface to get a sense of how they’ll fit together inside the box.
Consider Visual Balance
- Start with a Focal Point: Identify the most significant or eye-catching item and position it in the center of the display. This will serve as the focal point and help draw attention to the most important element of your story.
- Create Symmetry or Asymmetry: Depending on your personal style, you can create a balanced, symmetrical layout or go for a more dynamic, asymmetrical arrangement. Symmetry works well for formal displays like military medals or certificates, while asymmetry can create a more artistic, modern look for casual items like travel souvenirs or family mementos.
- Layer Items: Use layering to add depth and interest to your shadow box. Place flat items like photos or letters at the back, and position 3D objects in the foreground. This creates a sense of dimension and makes your display more visually engaging.
Tell a Story
Every shadow box tells a story. Whether it’s the story of a wedding day, a special vacation, or a loved one’s life, think about how you can arrange your items to reflect the narrative you want to share. Group related items together, and consider including labels, captions, or small written notes to explain the significance of each piece.
Step 3: Securing Your Items
Once you’ve finalized your layout, it’s time to secure your items inside the shadow box. How you attach the items will depend on the materials and their weight, but there are several common methods for safely securing objects without damaging them.
Adhesive Mounts
For lightweight, flat items like photos, postcards, or tickets, adhesive mounts or foam dots are a great option. They provide a strong hold without damaging your items and can easily be removed or repositioned if needed.
Pins or Tacks
For fabric or soft items like ribbons, clothing, or medals, sewing pins or tacks can be used to attach them to the backing of the shadow box. This method works well for items that can’t be glued or taped without causing damage.
Velcro Strips
If you’re displaying heavier objects like small souvenirs, toys, or collectibles, Velcro strips offer a secure solution. Attach one side of the Velcro to the back of the item and the other to the backing of the shadow box. This allows you to easily adjust the position of the item while ensuring it stays securely in place.
Step 4: Personalizing Your Display
One of the best parts about designing a shadow box is the ability to personalize it to match your style and the theme of the display. Here are some ideas for customizing your shadow box:
Use a Decorative Background
The background of your shadow box plays a significant role in the overall look of the display. Choose a background that complements the items inside and enhances the story you’re telling. Popular options include:
- Fabric Backing: Use linen, velvet, or cotton fabric to add texture and color to the display.
- Patterned Paper: Decorative scrapbook paper, maps, or sheet music can create a unique, themed backdrop for your items.
- Photos or Collages: Create a collage of photos as the background to add depth and context to your display.
Add Personalized Elements
Make your shadow box truly unique by adding personalized elements like engraved nameplates, hand-written notes, or vinyl lettering. For example, if you’re creating a wedding shadow box, you could include the couple’s names and wedding date in elegant script on the front glass.
Step 5: Protecting Your Display
To ensure that your shadow box display stands the test of time, it’s important to protect your items from environmental factors like UV light, dust, and humidity. Here’s how you can keep your shadow box looking its best:
UV-Protective Glass
If your shadow box will be exposed to sunlight, opt for UV-protective glass or acrylic to prevent fading and discoloration. UV rays can cause paper, fabric, and photographs to fade over time, so investing in protective glass is essential for long-term preservation.
Dust Protection
Most shadow boxes are designed with a sealed front to keep dust out, but it’s still a good idea to check the display periodically and give it a gentle cleaning if needed. Use a soft cloth to wipe down the exterior and a small brush or air blower to remove any dust that may have collected inside.
Moisture Control
If you’re displaying delicate items like paper or fabric, avoid placing the shadow box in areas with high humidity, such as bathrooms or kitchens. Consider adding a small packet of silica gel inside the shadow box to absorb moisture and keep your items dry.
Step 6: Displaying Your Shadow Box
Once your shadow box is complete, it’s time to find the perfect spot to display it. Shadow boxes can be hung on the wall or placed on shelves, tables, or mantels, depending on their size and design.
Wall Display
Most shadow boxes come with built-in hanging hardware, making it easy to mount them on the wall. Be sure to use sturdy nails or screws to support the weight of the box, especially if it’s filled with heavy items.
Tabletop Display
If you prefer not to hang your shadow box, you can place it on a tabletop or shelf. Smaller shadow boxes look great when grouped together as part of a gallery-style display, while larger boxes can stand alone as a focal point.
Conclusion
Designing your own shadow box display case is a rewarding way to showcase the items that matter most to you. From selecting the right box and planning your layout to securing and protecting your keepsakes, each step in the process allows you to create a display that’s both meaningful and beautiful. Whether you’re preserving a special moment or creating a unique piece of art, shadow boxes offer endless possibilities for personal expression and storytelling. So go ahead—get creative and start designing your custom shadow box today!
