
Creating a custom shadow box display is a rewarding project that allows you to showcase and preserve treasured items in a personal, meaningful way. Whether you’re displaying family memorabilia, travel souvenirs, or a collection of special keepsakes, designing your own shadow box offers endless creative possibilities. This step-by-step guide will walk you through the process of assembling your custom shadow box, from planning the layout to securing the items inside and ensuring they stay in place.
Step 1: Choose Your Shadow Box
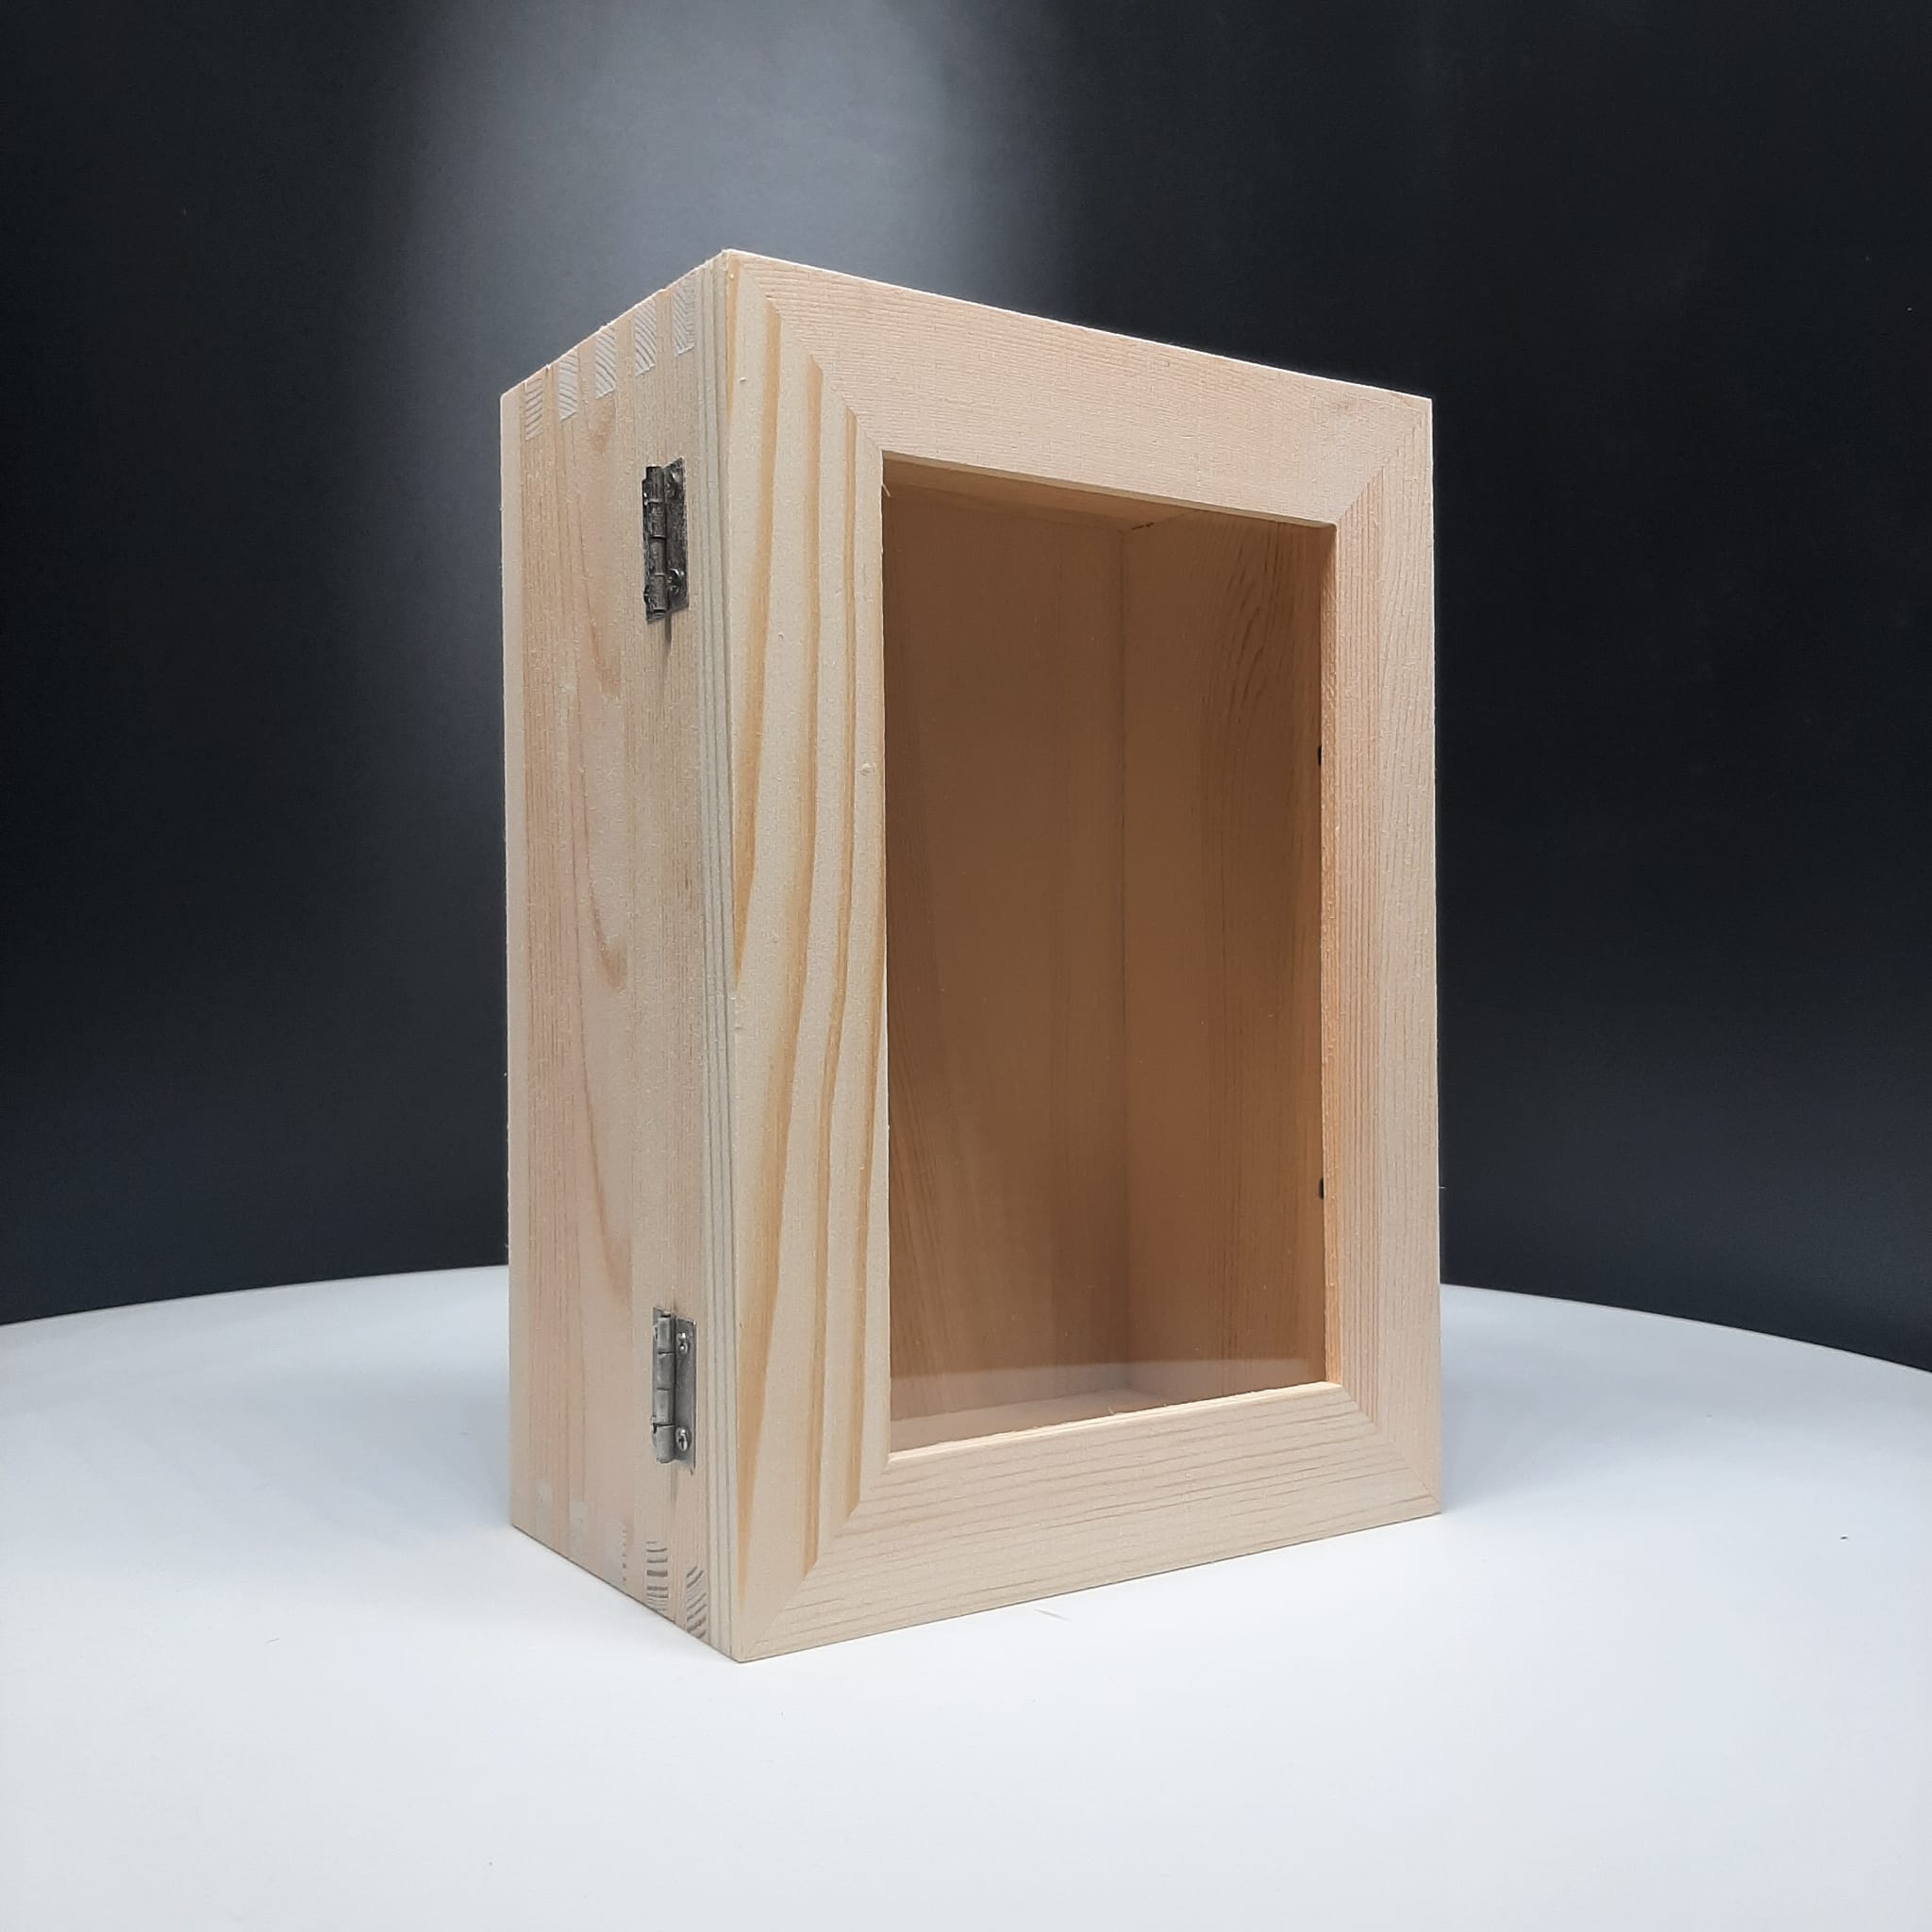
Before you start arranging your items, you’ll need to select the right shadow box for your project. The size and depth of the shadow box should accommodate the items you plan to display, while the frame material and style should complement your home décor.
Things to Consider:
- Size and Depth: Make sure the shadow box is large enough for the items you’re displaying, with enough depth to fit bulkier objects if necessary. Shallow shadow boxes are perfect for flat items like postcards or photos, while deeper ones work best for objects like baby shoes or sports memorabilia.
- Frame Material: Choose a frame that matches your aesthetic—wood for a classic or rustic look, metal for a modern feel, or acrylic for a lightweight, minimalist option.
Step 2: Plan Your Layout
Before you start securing items in the shadow box, take some time to plan the arrangement. Consider how you want each piece to be displayed, and think about creating a visually balanced composition. You can lay the items out on a table first to get a better sense of how they’ll fit within the shadow box.
Tips for Planning the Layout:
- Visual Balance: Try to distribute items evenly across the space so that one side doesn’t look too crowded or heavy compared to the other. Balance larger items with smaller ones, and avoid clustering everything in one corner.
- Layering: If you have both flat and three-dimensional items, layering can add depth and interest to the display. Place flat items like photos or paper documents in the background, and position bulkier objects in front.
- Storytelling: Think of your shadow box as a visual story. Arrange the items in a way that tells a narrative or highlights the significance of each piece. For example, in a travel-themed shadow box, you could place a map in the background and layer souvenirs, photos, or tickets in front of it.
Step 3: Secure the Items
Once you’re happy with the layout, it’s time to secure the items inside the shadow box. Depending on what you’re displaying, you can use a variety of methods to ensure everything stays in place without causing damage.
Securing Methods:
- Adhesive Mounts: Use adhesive mounts or foam dots for lightweight, flat items like photos, postcards, or certificates. These mounts provide a strong hold without damaging the items and can easily be repositioned.
- Pins or Tacks: For fabric or soft materials like medals, ribbons, or baby clothing, use sewing pins or tacks to attach them to the backing. Make sure to use small, discreet pins that won’t damage the items.
- Velcro Strips: Velcro strips are perfect for heavier or bulkier items like toys, plaques, or small souvenirs. Attach one side of the Velcro to the back of the item and the other to the shadow box backing, allowing you to easily secure and adjust the items if needed.
- Specialty Mounts: Some shadow boxes come with internal mounts or hooks designed for specific items, such as sports jerseys or medals. These are great for keeping items in place without adhesive or pins.
Practical Tip:
- Be gentle when securing fragile or irreplaceable items. If you’re concerned about potential damage, you can place delicate items inside protective sleeves or cases before securing them in the shadow box.
Step 4: Choose the Backing Material
The backing of your shadow box plays an important role in the overall aesthetic. The material you choose will serve as the background for your items, so it’s essential to select something that complements the objects and enhances their display.
Popular Backing Options:
- Fabric Backing: Felt, linen, or velvet can add texture and a touch of luxury to your display. Fabrics like these are great for formal displays, such as military medals or wedding keepsakes.
- Paper or Scrapbook Paper: Decorative paper, such as patterned scrapbook paper or a map, can add color and personality to your shadow box. This is an excellent choice for more casual or playful displays, like travel souvenirs or baby keepsakes.
- Neutral Colors: If you want the focus to be solely on the items inside, opt for a neutral-colored backing (white, gray, or black) to create a clean, minimalist look.
Practical Tip:
- Choose a backing material that contrasts with your items. For example, if your items are light-colored, use a darker backing to make them stand out.
Step 5: Arrange and Attach the Backing
Once you’ve chosen the perfect backing material, you’ll need to attach it to the shadow box. If the shadow box has a removable backing, this process is straightforward—simply cut the material to fit the backing and secure it using glue, adhesive spray, or double-sided tape. If the backing is fixed, carefully insert the material and smooth it out to eliminate wrinkles or bubbles.
Step 6: Test the Arrangement
Before permanently securing the shadow box’s front (if applicable), step back and assess the arrangement. Make sure everything is positioned correctly and that the items are securely attached. Double-check the visual balance and make any necessary adjustments. This is your final chance to make changes before sealing the shadow box.
Practical Tip:
- Take a photo of your arrangement before finalizing it. This way, if anything moves or needs to be adjusted, you can reference the photo to recreate your original design.
Step 7: Seal the Shadow Box
Once you’re satisfied with the arrangement, you can close and seal the shadow box. If your shadow box has a removable or hinged front, simply close it securely. For shadow boxes with a permanent glass front, ensure everything is positioned correctly before sealing the box with nails, screws, or adhesive as needed.
Practical Tip:
- Clean the inside of the glass or acrylic front before sealing the shadow box to remove any dust or fingerprints that may have accumulated during the assembly process.
Step 8: Display Your Shadow Box
Now that your custom shadow box is complete, it’s time to display it! Choose a location where the shadow box can be easily viewed and admired. Most shadow boxes are designed to be hung on a wall, but you can also place smaller shadow boxes on shelves or tables.
Hanging Tips:
- Wall-Mounted: Use appropriate hanging hardware based on the weight of the shadow box. For heavier shadow boxes, use wall anchors or screws to ensure they’re securely attached.
- Tabletop Display: If you prefer not to hang the shadow box, some can be placed on a tabletop or shelf with the help of an easel or stand.
Conclusion
Creating a custom shadow box display is a fun and meaningful way to showcase special memories, milestones, or collections. By carefully planning your layout, securing your items, and choosing the right materials, you can design a display that reflects your personal style and preserves your most treasured possessions. Whether you’re creating a shadow box for a specific occasion or just for fun, the result will be a beautiful, personalized piece that tells your unique story.
